
Dashboard and Internal Tools
This guide covers the main admin tools used after sign-in. These tools include:- Dashboard
- AI Chat
- Feature Requests
- Support
- Push Notifications
- Profile
Before You Start
- Sign in to your admin account.
- Open
Church Managementin the left sidebar to findDashboard,AI Chat, andNotifications. Profile,Feature Requests, andSupportare in the profile menu at the top right.- Some tools only appear if your account has permission to use them.
Dashboard
The dashboard is the first page after sign-in. It opens with the people side of church life: who is new, who needs a call today, who is being cared for, and how giving is going. Church setup and content statistics sit further down the page. Main church administrators also see a compact Put your first church workflow to work reminder. It shows their saved progress and a direct link to the next unfinished task. Expand Setup steps to review church identity, the first member, and a published public form, the first completed public response, and a saved follow-up owner and due date or Completed status. Completed steps remain available without taking over the dashboard. See Client onboarding.What You Can Do
- See this week’s new visitors, today’s follow-ups, open care cases, and this month’s gifts at a glance
- Work through the visitor follow-ups due today
- Check what needs attention across the church
- Watch recent activity as it happens
- Compare giving week by week
- Download or copy the mobile app subscribe QR code
- Review church information, media, and bulletin summaries
The Four Tiles
Today’s Priorities
Start with Today’s priorities, above the four tiles. Follow-ups and attention alerts appear together here. When neither needs action, a single You’re all caught up message replaces the empty lists. If information cannot be loaded, use Try again; an unavailable list is not treated as an empty one.- Follow-ups due today lists each open follow-up with the person’s name, the task, and who owns it. Overdue items say how long they have been overdue. Click Open to handle one: a visitor follow-up opens the inbox, a member follow-up opens the member’s profile. All visitors opens the inbox.
- Needs attention is the same list the header bell shows: overdue follow-ups, care cases without an owner, urgent care, profile changes to review, and new form responses. See Search and the Attention Bell.
- Recent activity, a feed of the latest connect cards, gifts, form responses, care requests, and group joins across the church.
- Giving, last 12 weeks, which charts completed gifts by week and shows the change against the week before.
Church Setup and Content
Expand Church setup and content to find:- the church information card and branch count,
- the mobile app subscribe QR code with Download QR Code and Copy Link,
- the latest changelog entries,
- video, audio, bulletin, and membership statistics, and
- the donations report link.
Steps
- Open
Church Managementin the left sidebar. - Click
Dashboard. - Start with Today’s priorities and open any follow-up or alert needing action.
- Use the four tiles to open the related workspace, or expand Recent activity and giving trends for more context.
- Expand Church setup and content for the QR code, media, and bulletin summaries.
Notes
- The tiles and lists only include people, cases, and gifts from your own church.
- Care items appear only if your account has the pastoral care permission.
- If the mobile subscribe setup is incomplete, the QR section can show a warning instead of the QR code.
AI Chat
AI Chat helps admins draft content and get guided help inside the admin workspace.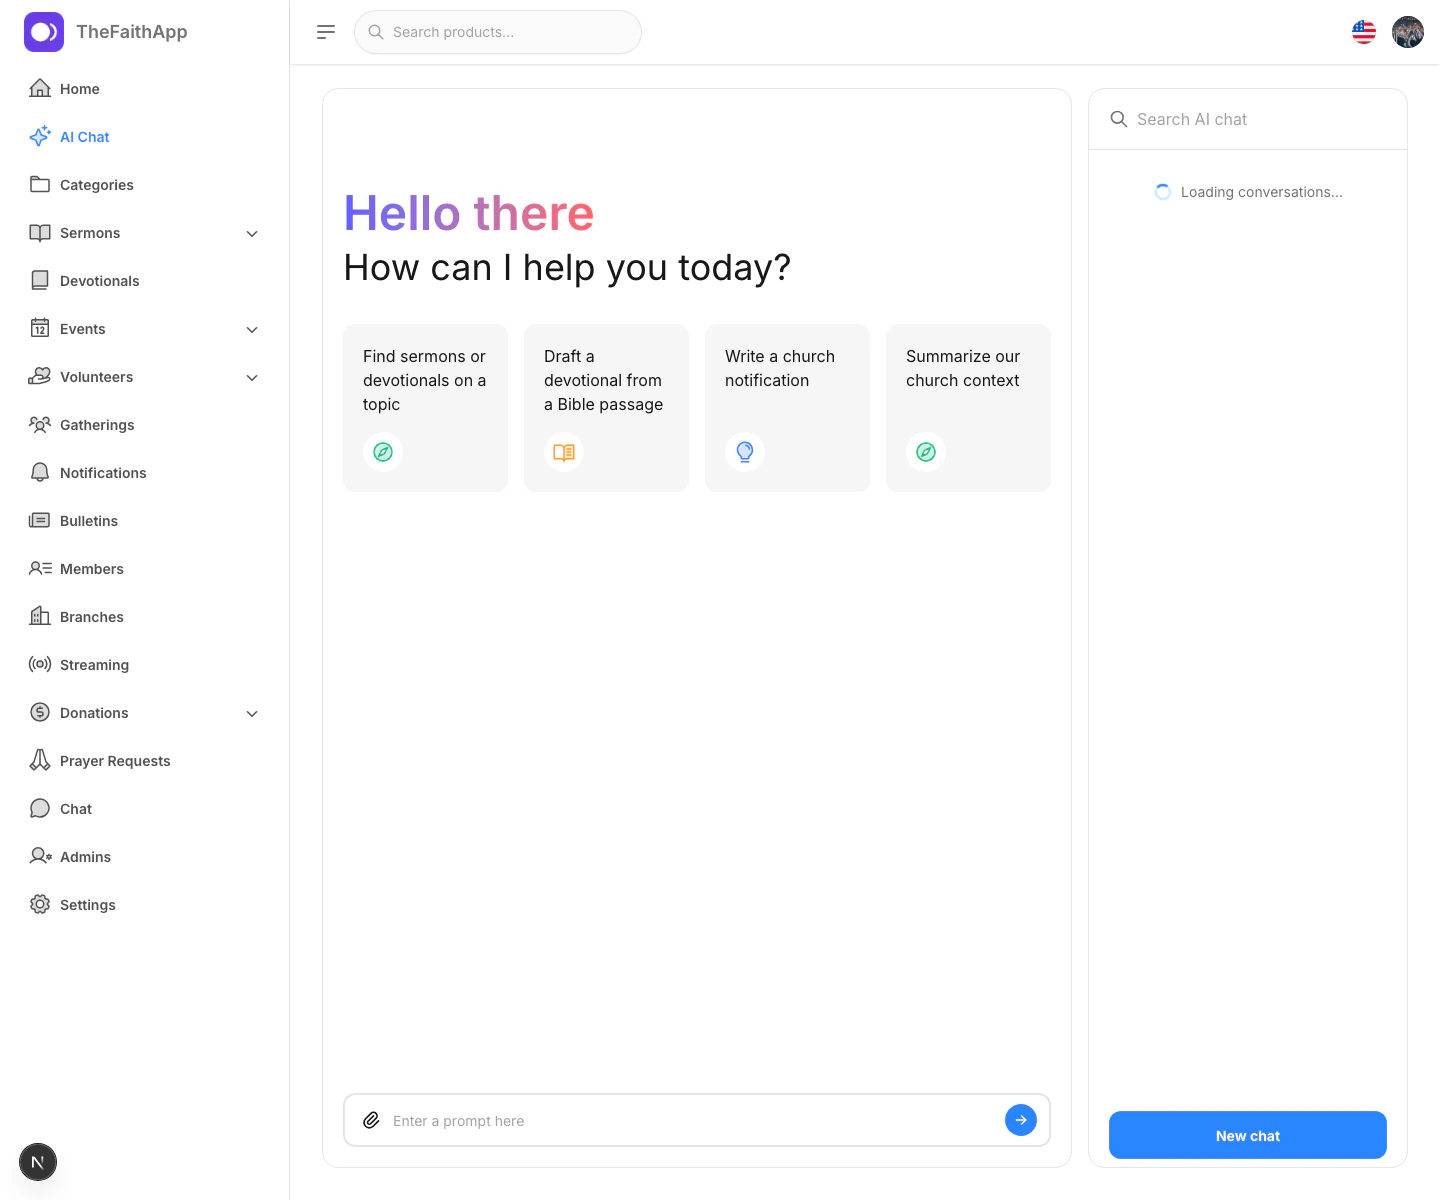
What You Can Do
- Start a new AI conversation
- Use suggested prompts to get started faster
- Type your own prompt
- Draft visitor follow-up and Volunteer encouragement messages
- Summarize care history when your Pastoral Care access allows it
- Suggest next steps and Community Groups from current church records
- Find duplicate-member candidates and Volunteer schedule gaps
- Draft Event descriptions, announcements, weekly summaries, and ministry reports
- Search past conversations
- Rename, archive, or delete saved conversations
Steps
- Open
Church Management, then clickAI Chat. - Choose a suggested prompt or type your own message.
- Send the prompt.
- Use
New chatwhen you want to start over. - Open the action menu on a past conversation to rename, archive, or delete it.
Notes
- Access depends on your admin role or AI Chat permission.
- Search results and care context keep the permissions of their source screens.
- Generated messages, assignments, merges, announcements, and Events are drafts; AI Chat never sends, schedules, merges, or publishes them automatically.
- Review factual claims and every message before using it. The assistant is not a pastoral counselor or a replacement for a leader’s judgment.
- If AI access is unavailable, the page shows a billing or reply-limit message with a link to
Settings. - Read AI Assistance for member answers, source citations, review boundaries, and availability.
Feature Requests
Use Feature Requests to send product ideas to the support team.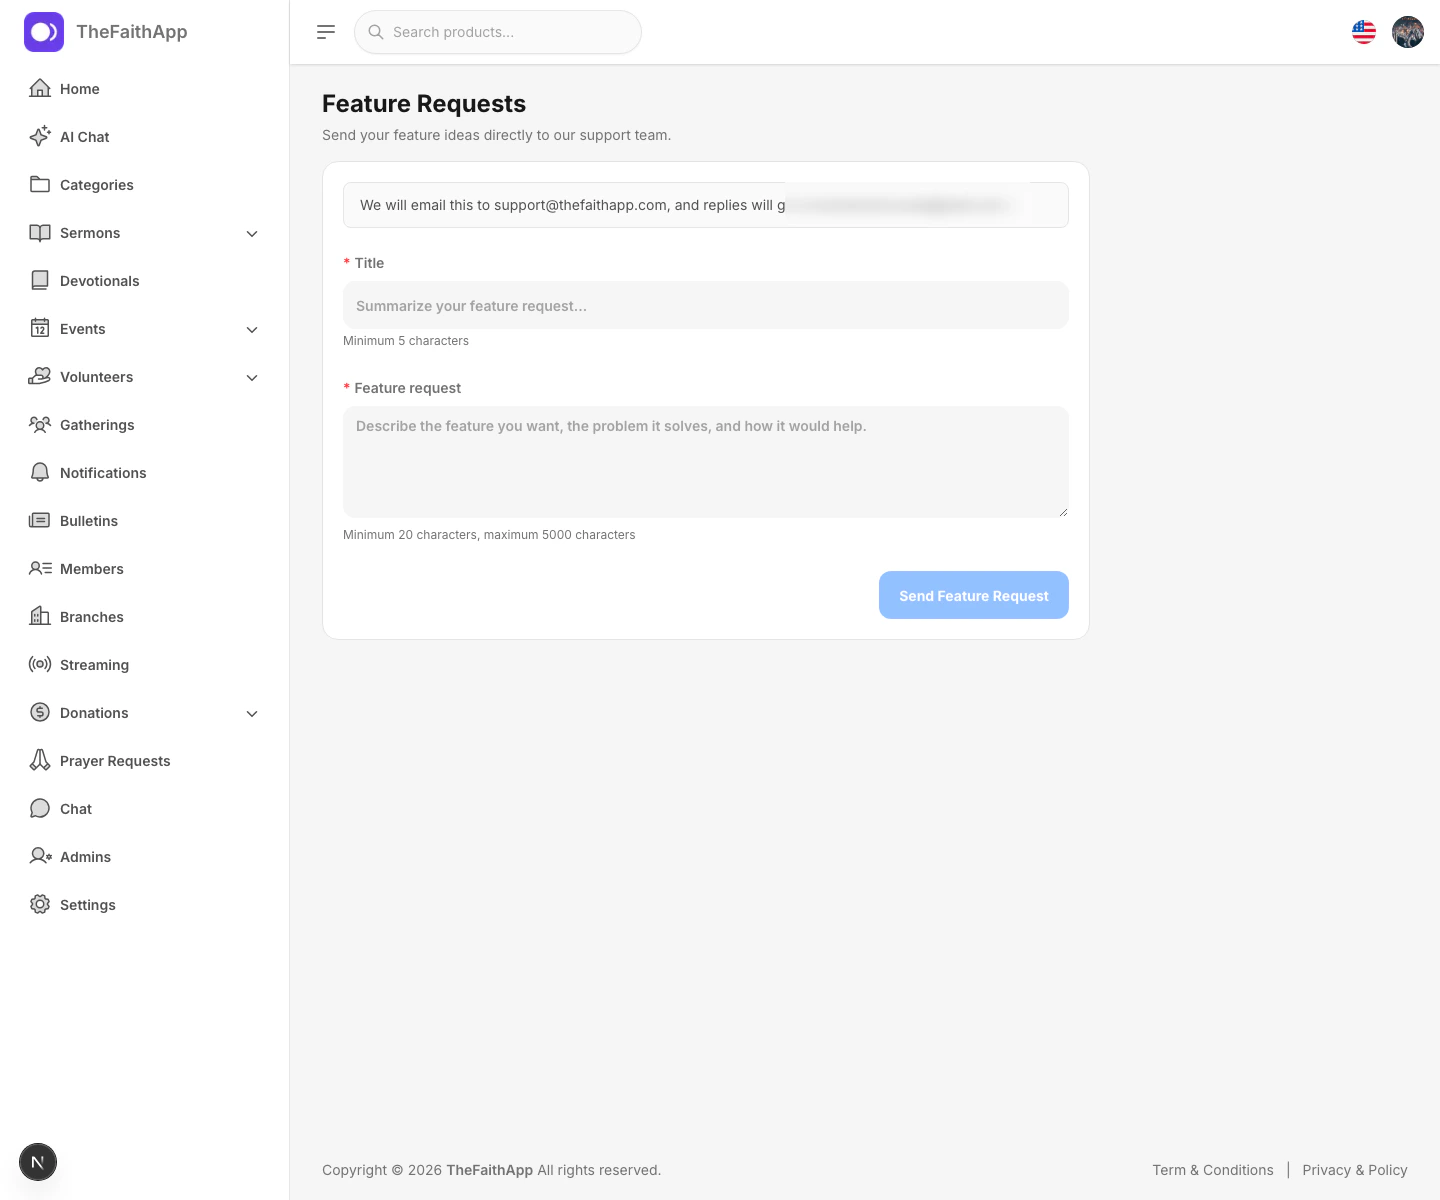
Steps
- Click your profile avatar in the top-right corner.
- Select
Feature Requests. - Enter a short title.
- Describe the feature idea and why it would help.
- Click
Send Feature Request.
Result
- The request is sent to the support team.
- Replies go to the email address on your admin account.
- A success message confirms the request was sent.
Notes
- The title must be at least 5 characters.
- The message must be at least 20 characters.
Support
Use Support when you need help with a question or issue.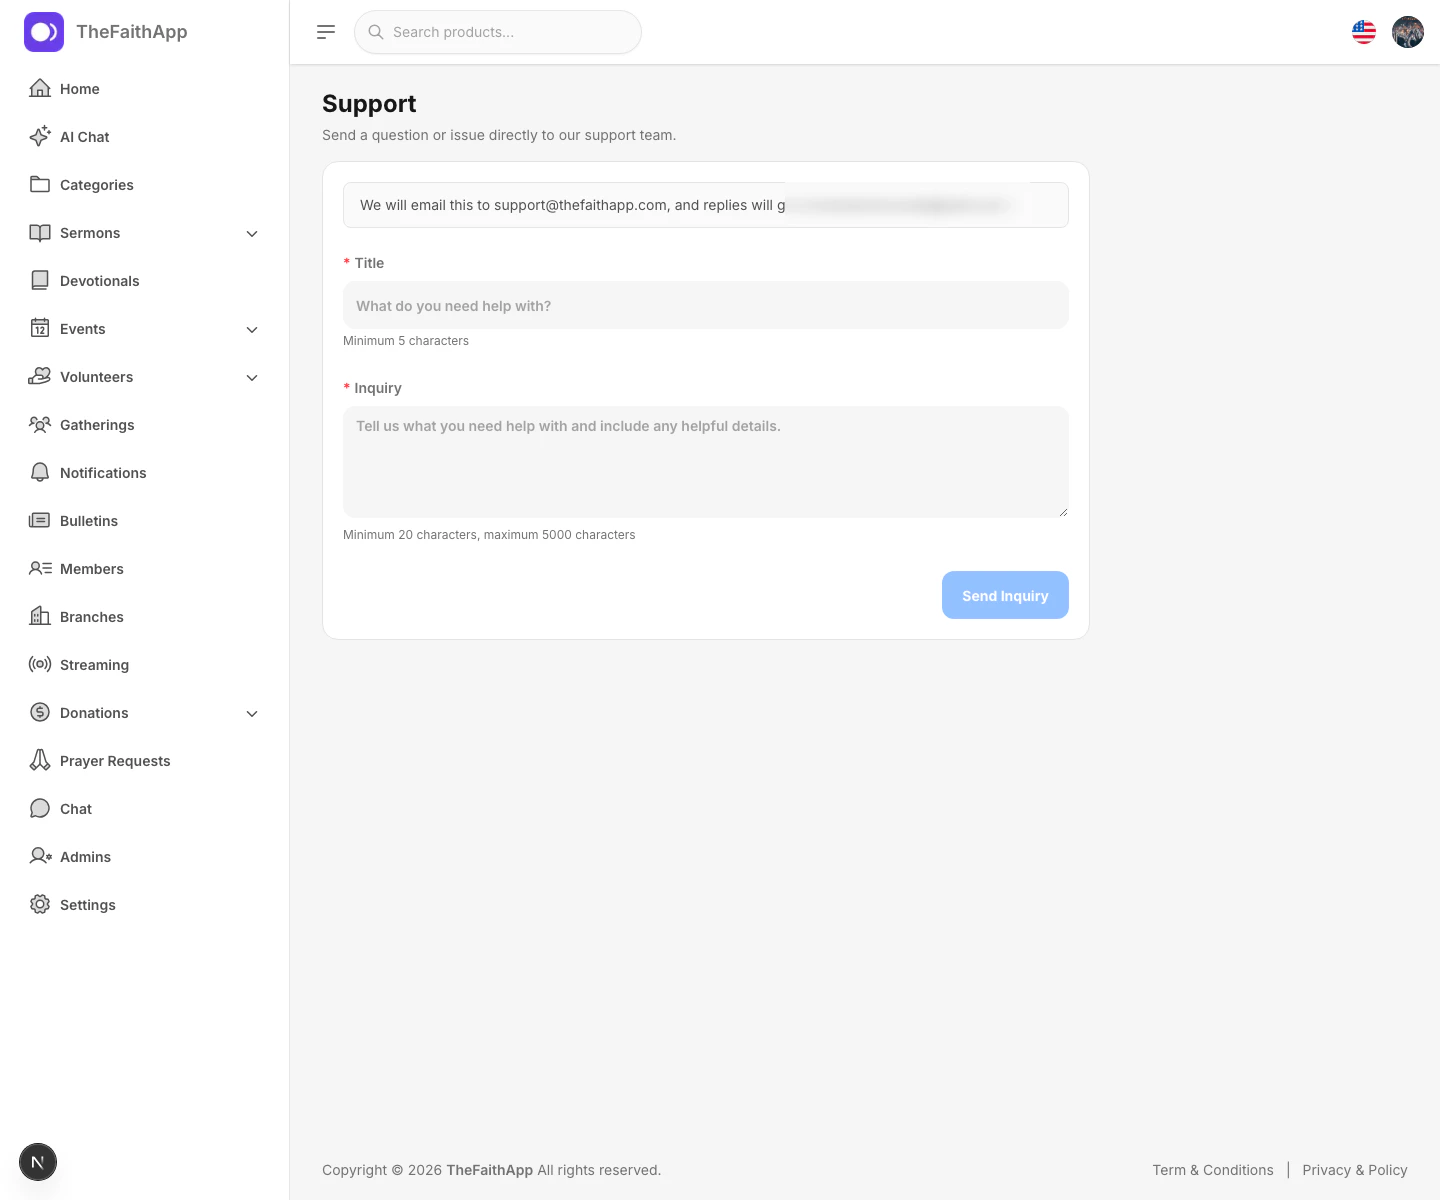
Steps
- Click your profile avatar in the top-right corner.
- Select
Support. - Enter a short title for the issue or question.
- Add the full details in the message box.
- Click
Send Inquiry.
Result
- The inquiry is sent to the support team.
- Replies go to the email address on your admin account.
- A success message confirms the inquiry was sent.
Tips
- Include what you were trying to do.
- Include any error wording or unexpected result.
- Add enough detail for the support team to reproduce the issue.
Push Notifications
Use Push Notifications to send updates to church members.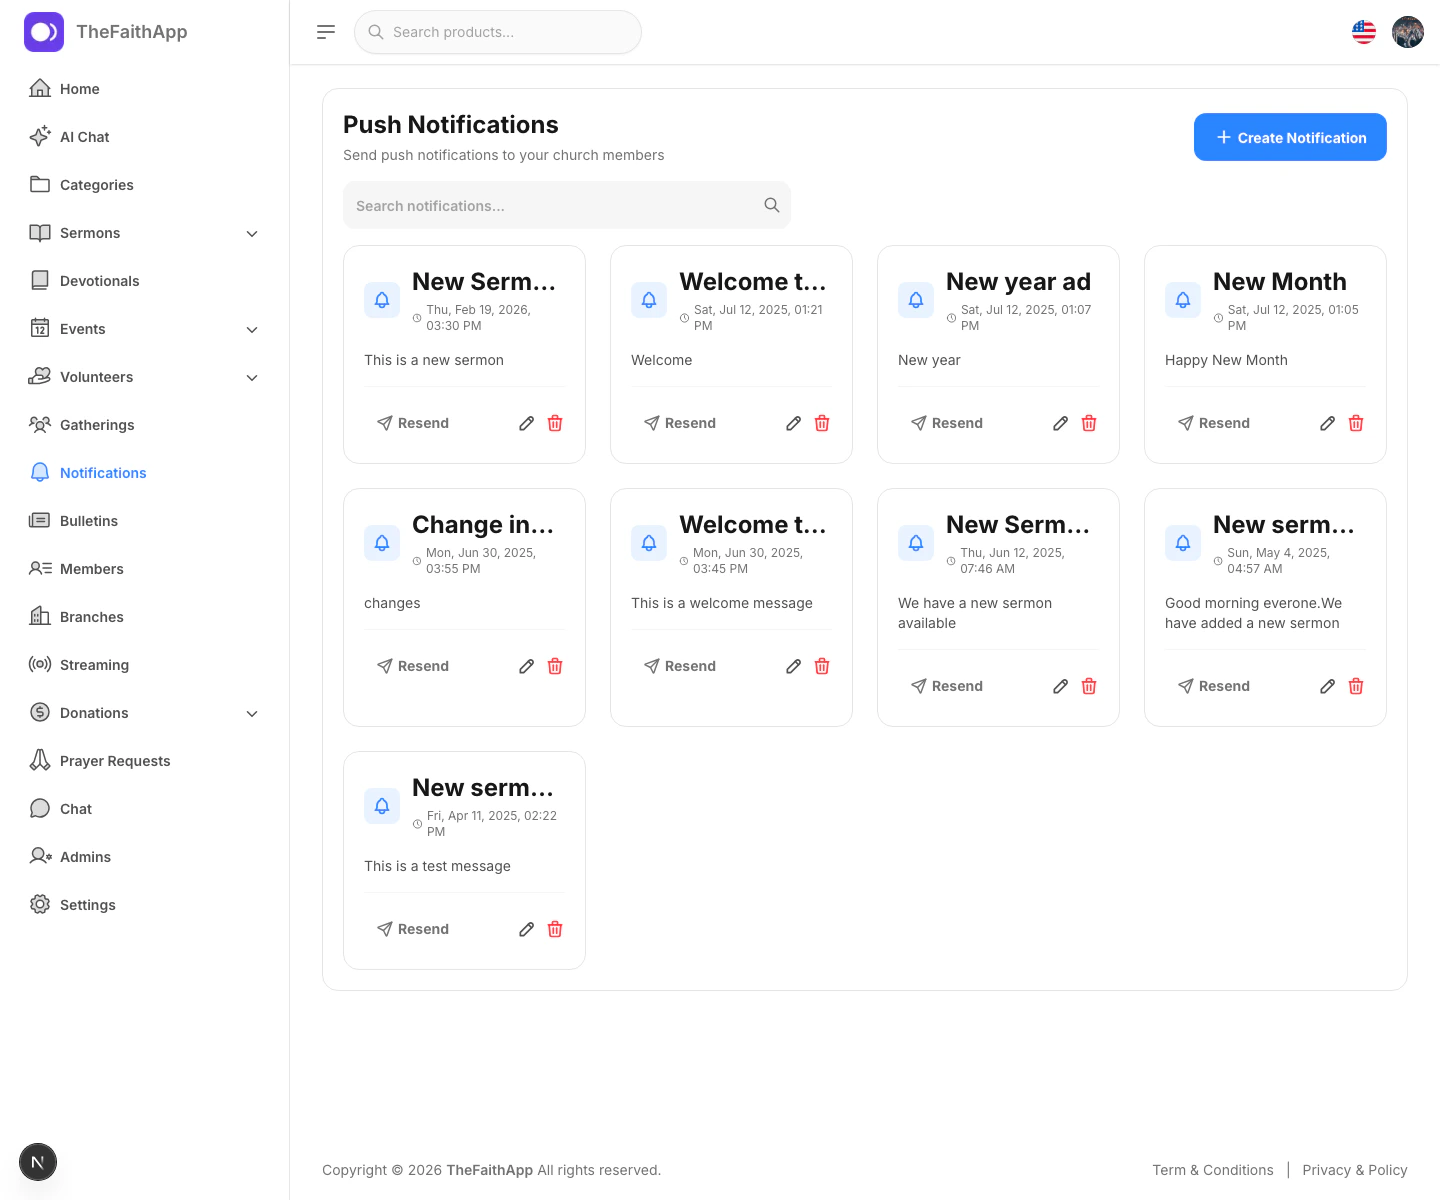
What You Can Do
- Create a new notification
- Search past notifications
- Edit an existing notification
- Resend an existing notification
- Delete a notification
Steps
- Click
Notificationsin the left sidebar. - Click
Create Notification. - Enter the notification title.
- Write the notification message.
- Send the notification.
Managing Existing Notifications
- Use the search field to filter the list.
- Use the edit icon to update a notification.
- Use
Resendto send the same notification again. - Use the delete icon to remove a notification.
Notes
- Create and edit forms open in a right-side panel.
- Existing notifications appear as cards with quick actions.
Profile
Use Profile to update your personal account details.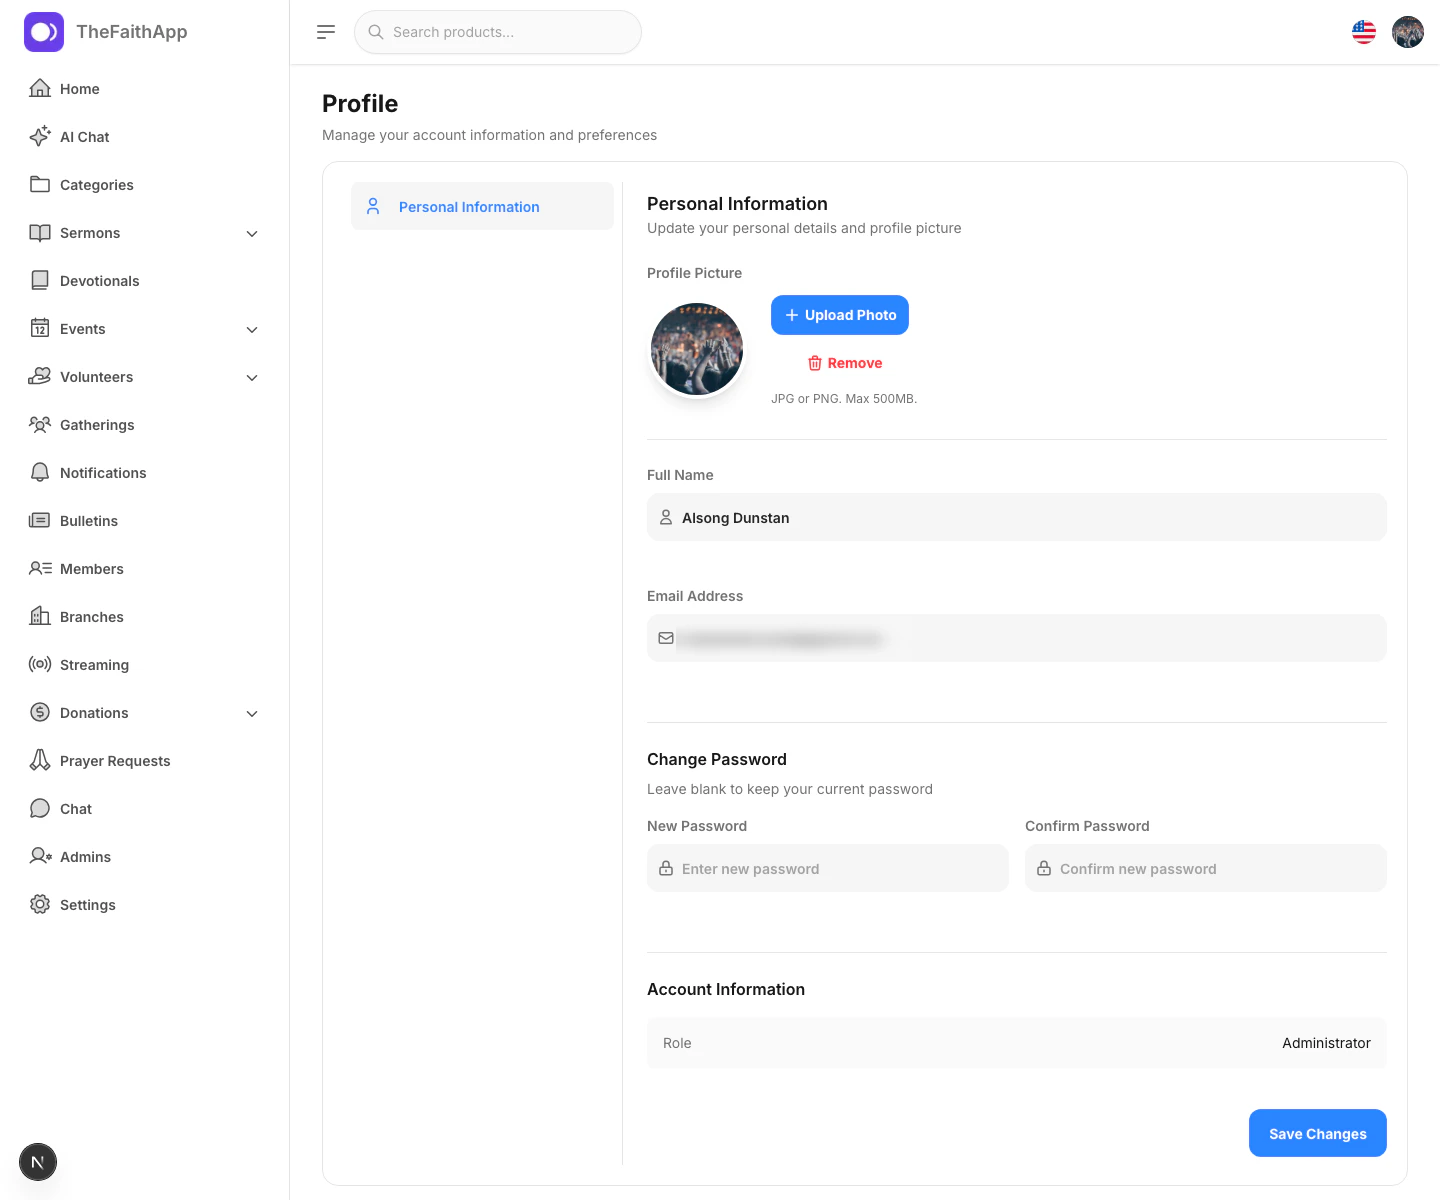
Steps
- Click your profile avatar in the top-right corner.
- Select
Profile. - Update your name or email address.
- Upload or remove the profile photo if needed.
- Enter and confirm a new password if you want to change it.
- Click
Save Changes.
Notes
- Leave the password fields blank if you do not want to change your password.
- Profile photos accept JPG or PNG uploads.
- The current account role is shown on the page.