
Content Management
This guide covers the main tools used to organize and publish church content in TheFaithApp. These tools include:- Categories
- Media library
- Audio sermons
- Video sermons
- Sermon AI tools
- YouTube in app
- Devotionals
- Digital bulletins
- Streaming
Before You Start
- Sign in to your admin account.
Categories,Sermons,Devotionals,Bulletins, andStreamingare in the left sidebar.- Some actions, such as editing or deleting content, depend on your admin permissions.
Categories
Use Categories to group sermons and keep content organized.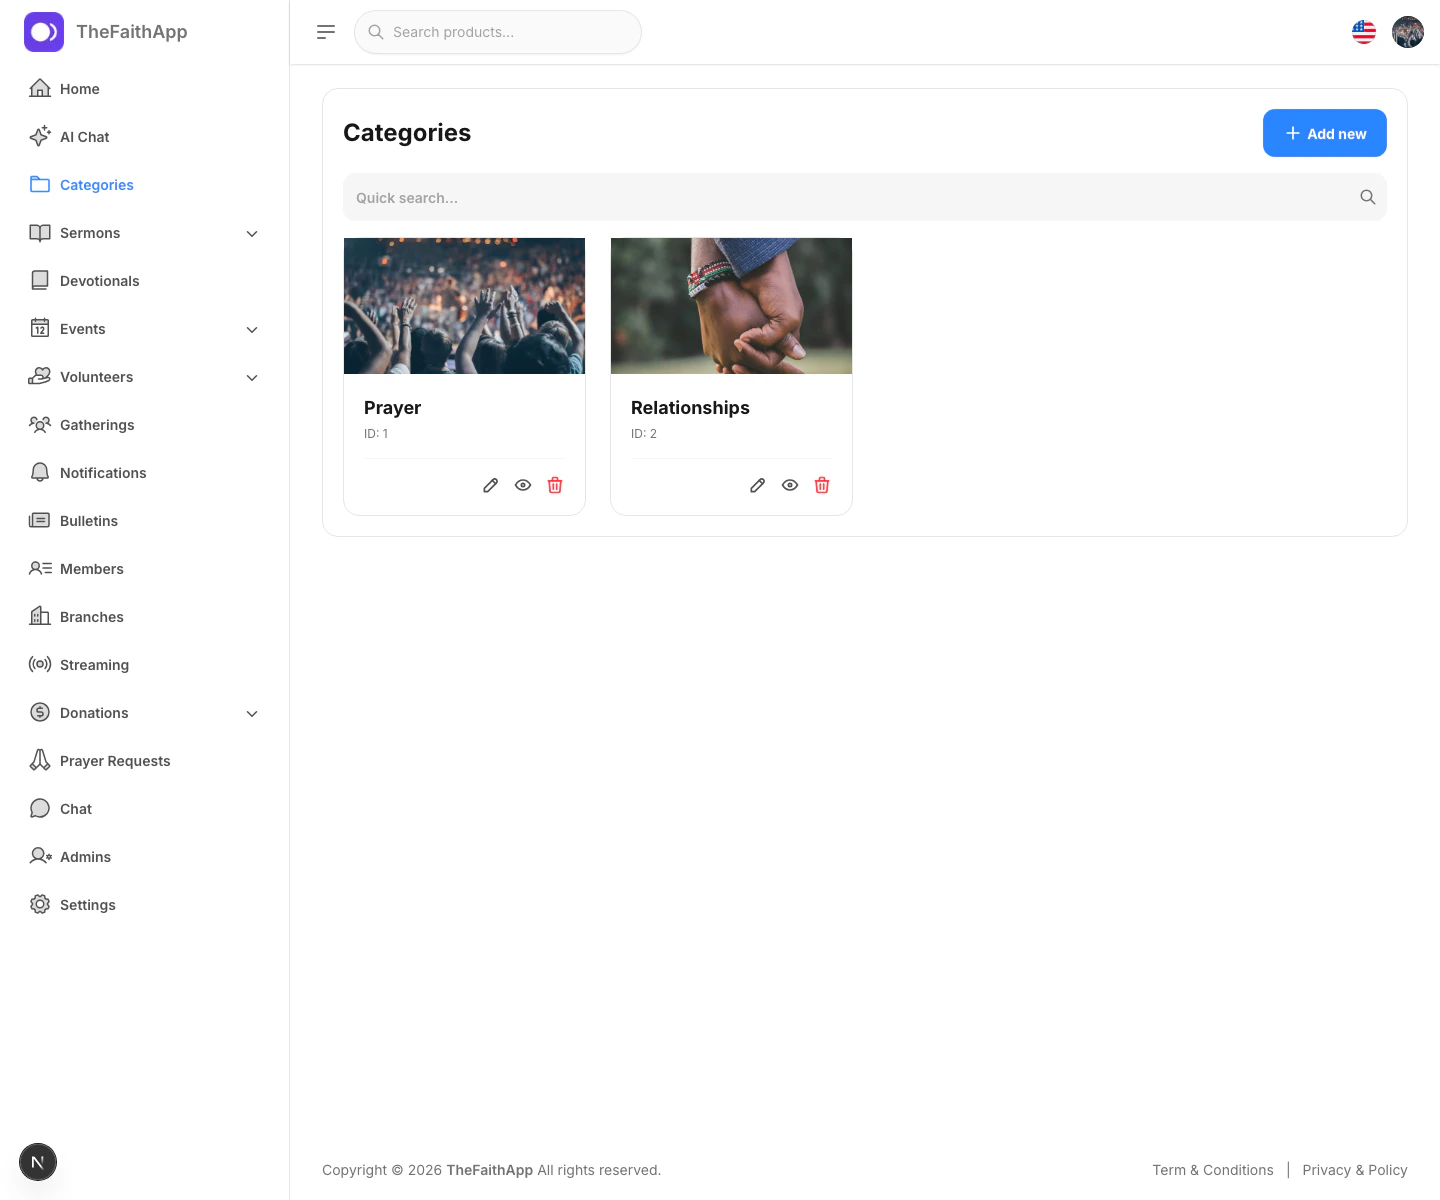
What You Can Do
- Create a new category
- Add an optional category image
- Search existing categories
- Edit a category name or image
- Open a category to manage its media
- Delete a category you no longer need
Steps
- Click
Categoriesin the left sidebar. - Click
Add new. - Enter the category name.
- Upload a category image if you want one.
- Save the category.
Tips
- Use clear category names so members can find sermons more easily in the app.
- Open a category when you want to manage the audio and video content assigned to it.
Media Library By Category
Each category has its own media library where you can switch between audio and video items.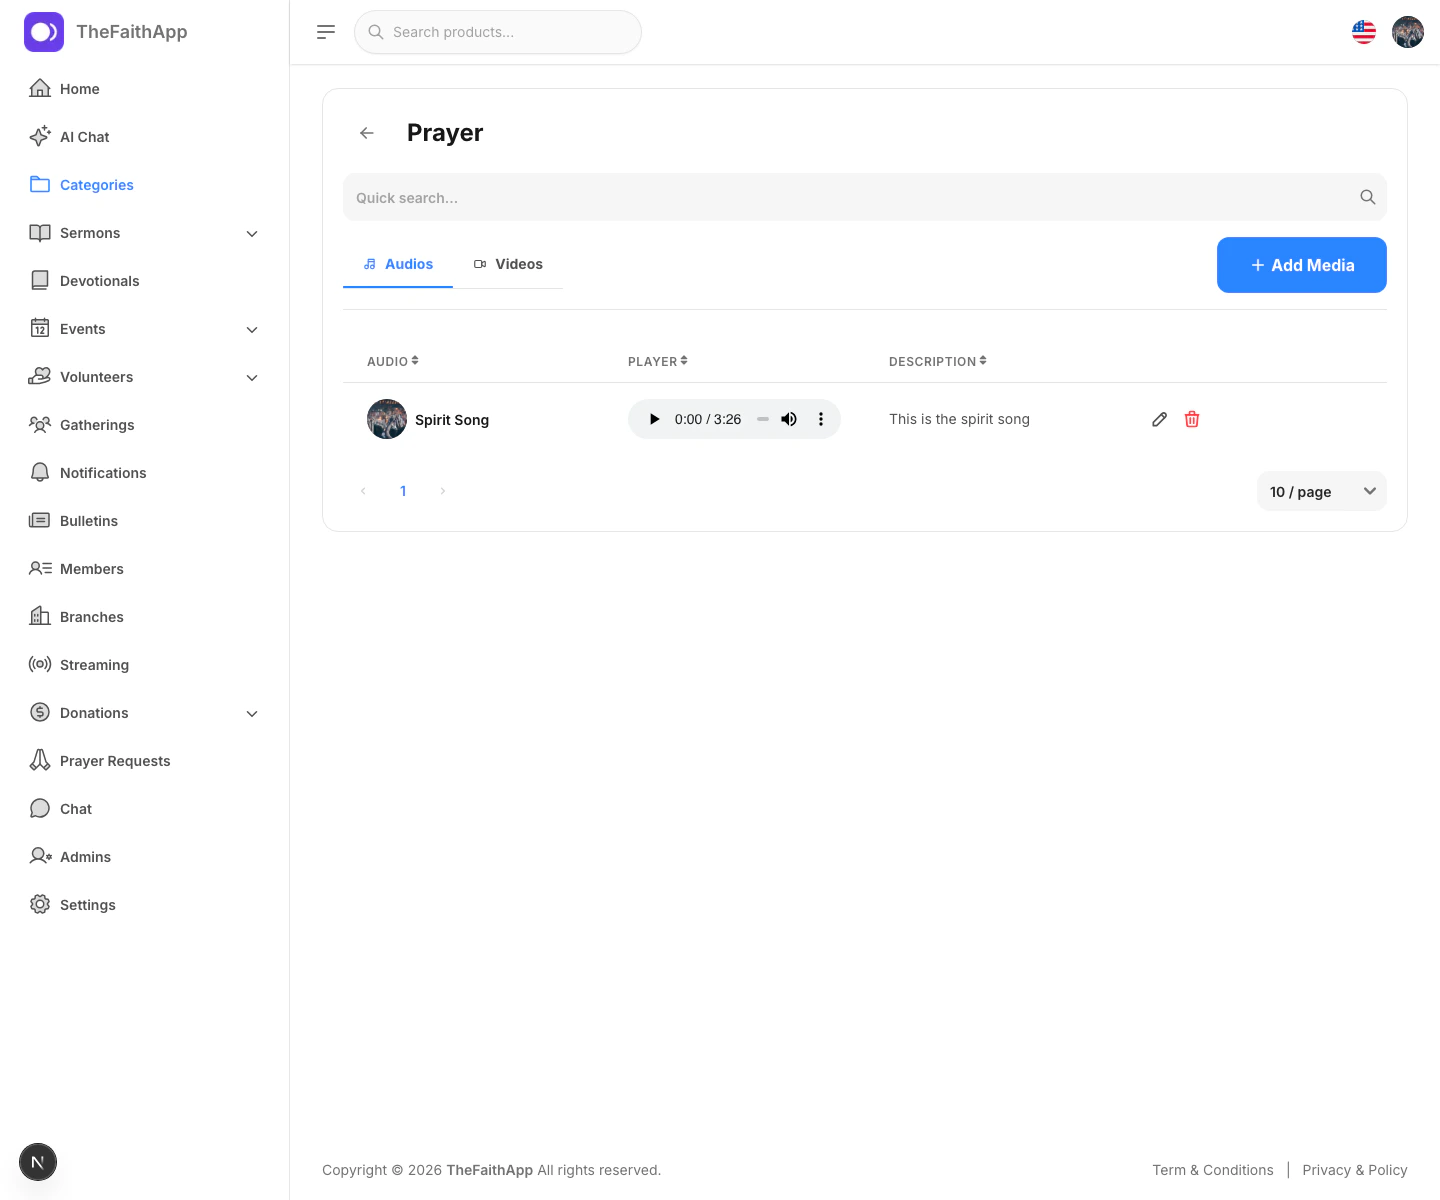
Steps
- Open
Categories. - Click the view icon on a category card.
- Use the
AudiosandVideostabs to switch content types. - Click
Add Mediato add a new item directly inside that category.
What You Can Do Here
- Keep related audio and video sermons together
- Search within the category
- Preview audio or play video content
- Edit or delete media from the same screen
Audio Sermons
Use Audio Sermons to publish sermon recordings and other audio messages.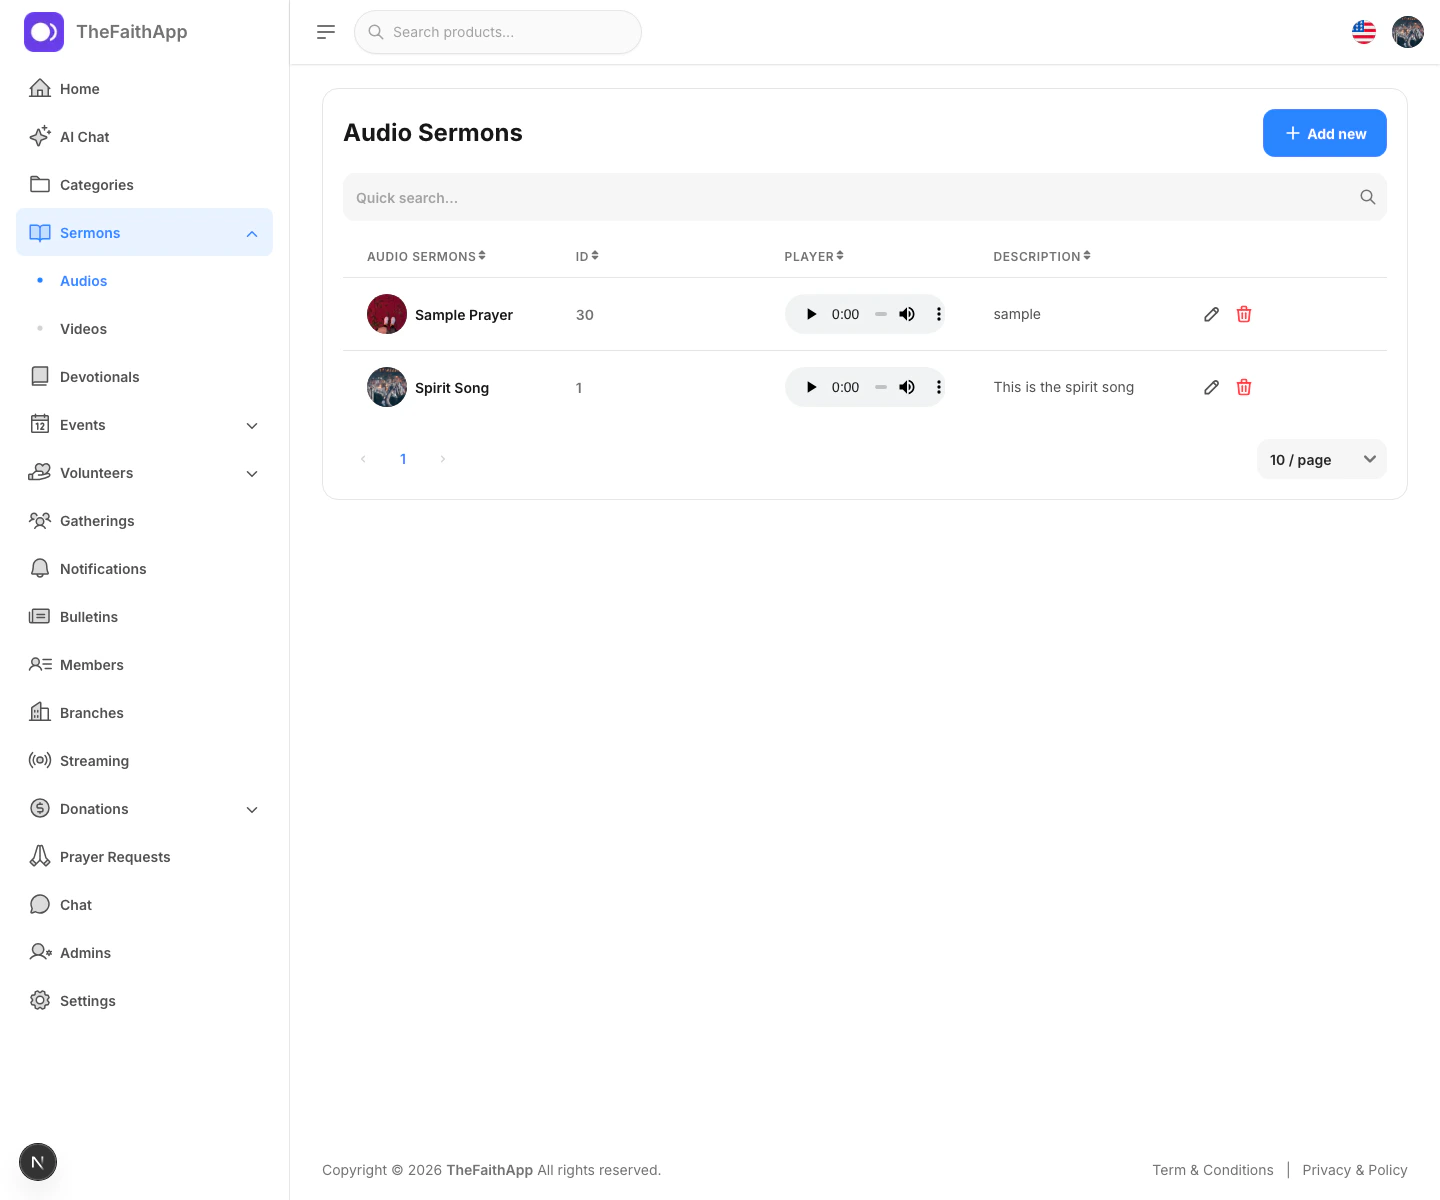
What You Can Do
- Add a new audio sermon
- Upload an audio file or use an audio link
- Assign the sermon to a category
- Add a cover photo, title, description, and duration
- Preview audio from the list
- Edit or delete existing audio sermons
Steps
- Open
Sermonsin the left sidebar. - Select
Audios. - Click
Add new. - Choose the category.
- Add the title, description, and duration.
- Upload the audio file or add the audio link.
- Upload a cover photo.
- Save the sermon.
Video Sermons
Use Video Sermons to manage uploaded and linked sermon videos.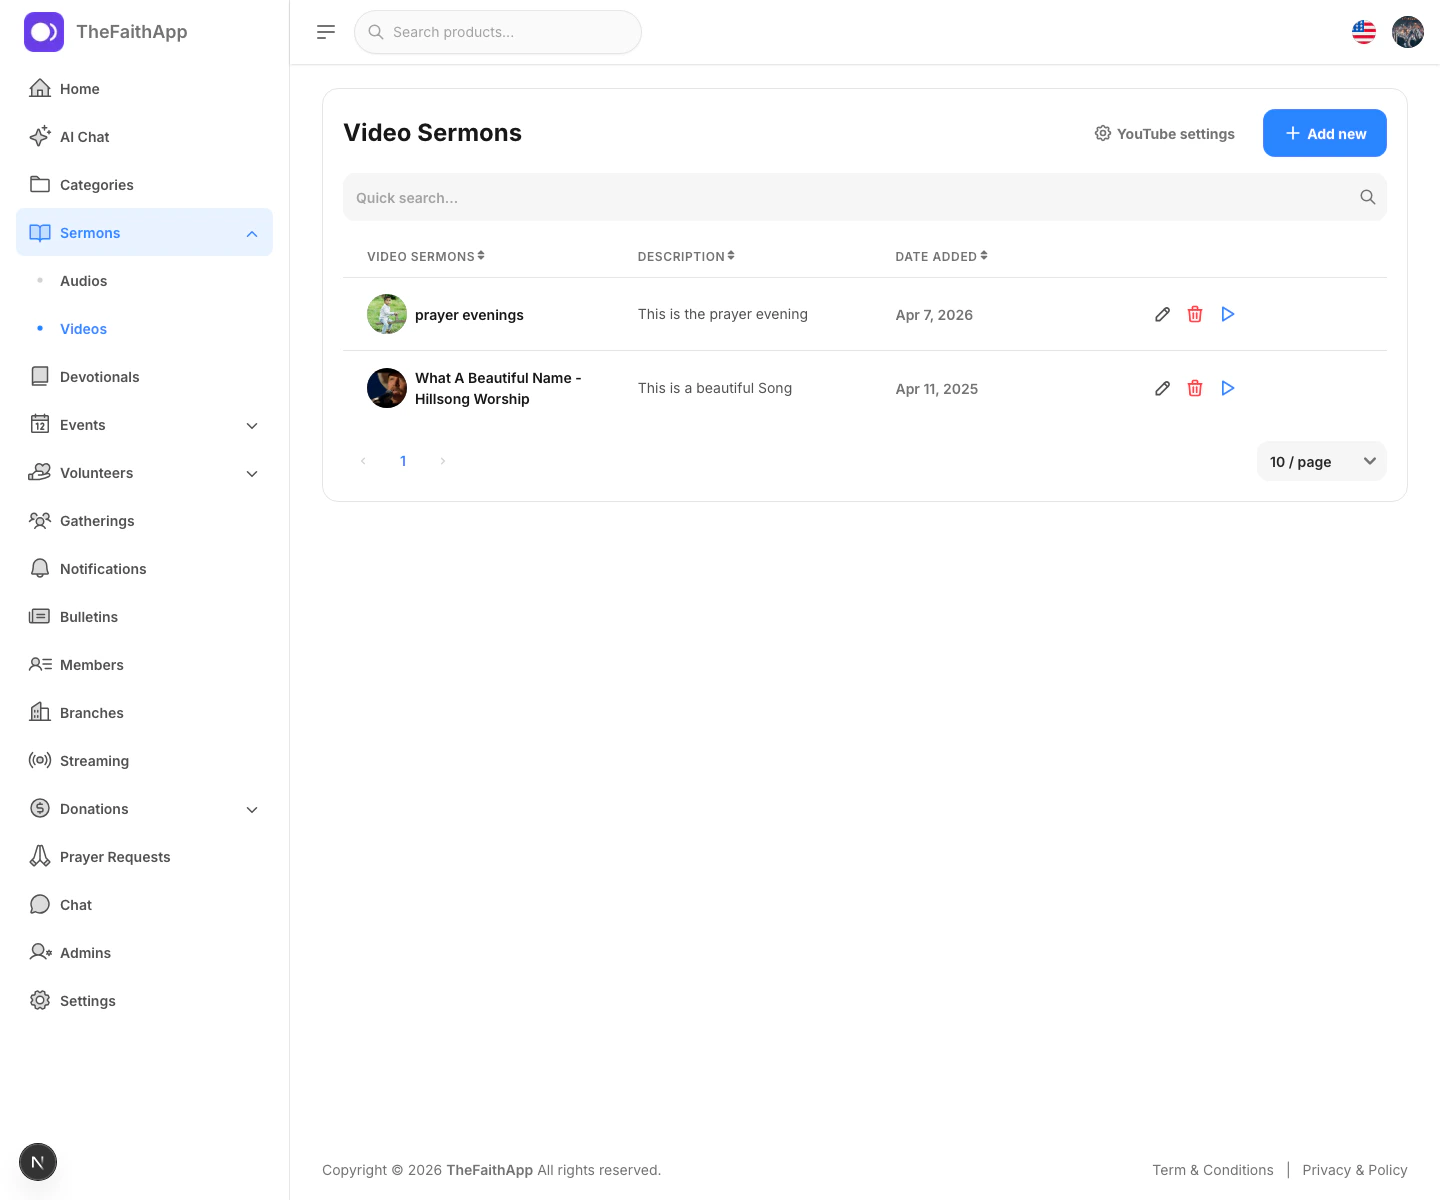
What You Can Do
- Add a new video sermon
- Assign the video to a category
- Add a cover photo, title, description, and duration
- Preview videos from the list
- Edit or delete existing videos
Supported Video Sources
- Uploaded MP4 files
- Direct MP4 links
- YouTube video IDs
- Vimeo video IDs
- Dailymotion video IDs
- M3U8 and MPD streaming links
- Facebook public video links
Steps
- Open
Sermons. - Select
Videos. - Click
Add new. - Choose the category.
- Enter the title, description, and duration.
- Choose the video source type.
- Add the file, link, or video ID.
- Upload a cover photo.
- Save the sermon.
Sermon AI Tools
Sermon AI helps your team turn sermons into readable transcripts, member-friendly study tools, translations, shareable drafts, quote cards, and video clips.
What You Can Do
- Generate a synced transcript for an uploaded audio sermon.
- Review transcript lines and publish them when they are ready for members.
- Ask for conservative cleanup suggestions while reviewing a transcript, then choose which suggestions to apply before saving.
- Generate sermon chapters from a reviewed transcript.
- Generate sermon insights, including a summary, key points, scripture references, reflection questions, and discussion prompts.
- Translate a reviewed transcript into supported languages.
- Create content drafts for social media, newsletters, bulletins, small-group guides, short devotionals, and short sermon snippets.
- Design and download quote cards from sermon excerpts.
- Suggest and download short clips for uploaded video sermons.
Availability
- Audio sermon AI tools are available for uploaded audio sermons.
- Video transcript, translation, caption, and clip tools are available for uploaded video sermons.
- Linked or external videos, such as YouTube, Vimeo, Facebook, livestream links, M3U8, and MPD sources, do not show the same AI tools because the app does not own the source file.
- Sermon AI generation is part of the Digital Ministry Assistant add-on. Each church can try one free transcript before activating the add-on.
- Published sermon content stays available to members; the add-on controls staff generation tools, not member access to content that has already been published.
Generate And Publish A Transcript
Use transcripts first. Chapters, insights, translations, content drafts, quote cards, captions, and clips all work best after the sermon has a reviewed transcript.
- Open
Sermons. - Select
Audiosfor an uploaded audio sermon, orVideosfor an uploaded video sermon. - Click the transcript icon or transcript status for the sermon.
- Click
Generate transcript. - Wait for the status to move from queued or processing to ready for review.
- Review the transcript lines and timestamps.
- Edit any lines that need correction.
- Click
Save changes. - Click
Publishwhen the transcript is ready for members.
What Members See
After you publish a transcript:- Audio sermons can show a synced transcript player.
- Members can read along while listening.
- Members can tap transcript lines to jump to that moment.
- Uploaded videos can show synced captions from the published transcript.
- Members only see published transcripts and published translations.
Create Chapters
Chapters help members jump to major sections of a sermon.- Open an audio sermon with a reviewed transcript.
- Click the chapters icon.
- Click
Generate chapters. - Review the chapter titles and start times.
- Edit titles if needed.
- Click
Save changes. - Click
Publishwhen the chapters are ready.
Create Sermon Insights
Sermon insights give members and staff a quick way to revisit the message.- Open an audio sermon with a reviewed transcript.
- Click the insights icon.
- Click
Generate insights. - Review the summary, key points, scripture references, reflection questions, and discussion prompts.
- Edit the content if needed.
- Click
Save changes. - Click
Publishwhen the insights are ready.
Translate A Transcript
Translations help multilingual churches make sermons more accessible.- Open an audio sermon or uploaded video sermon with a reviewed transcript.
- Click the language icon.
- Choose a language.
- Click
Translate. - Review the translated transcript lines.
- Edit any wording that needs correction.
- Click
Save changes. - Click
Publishwhen that language is ready.
Create Content Drafts And Quote Cards
Content drafts help staff reuse sermon material without starting from a blank page.- Open an audio sermon with a reviewed transcript.
- Click the repurpose icon.
- Click
Generate content. - Review the social post, short snippets, newsletter summary, bulletin announcement, small-group guide, and short devotional.
- Edit the text if needed.
- Click
Save changes. - Copy the draft you want to use.
- Open an audio sermon with a reviewed transcript.
- Click the quote card icon.
- Choose a suggested quote or write your own.
- Pick the style that fits your church brand.
- Click
Download PNGto save the card as an image.
Create Uploaded Video Clips
Uploaded video sermons can use transcripts to suggest short shareable clips.

- Open
Sermons. - Select
Videos. - Find an uploaded video sermon.
- Click the clips icon.
- Click
Suggest clips. - Review the suggested start and end times.
- Edit the clip title if needed.
- Click
Generatefor the clip you want. - Click
Downloadwhen the clip is ready. - Select
Publish to memberswhen members should be able to open and share the clip. UseWithdrawto remove it from the member app.
Tips
- Review AI-generated content before publishing it to members.
- Publish the transcript before expecting members to see synced transcript or caption features.
- Use clear chapter titles that describe the sermon section, not only the topic.
- Keep translated transcripts reviewed by someone familiar with the language when possible.
- Regenerating content replaces the current AI draft, so save or copy any edits you want to keep first.
YouTube In App
Use the YouTube settings drawer to surface a YouTube channel or playlist inside the member app.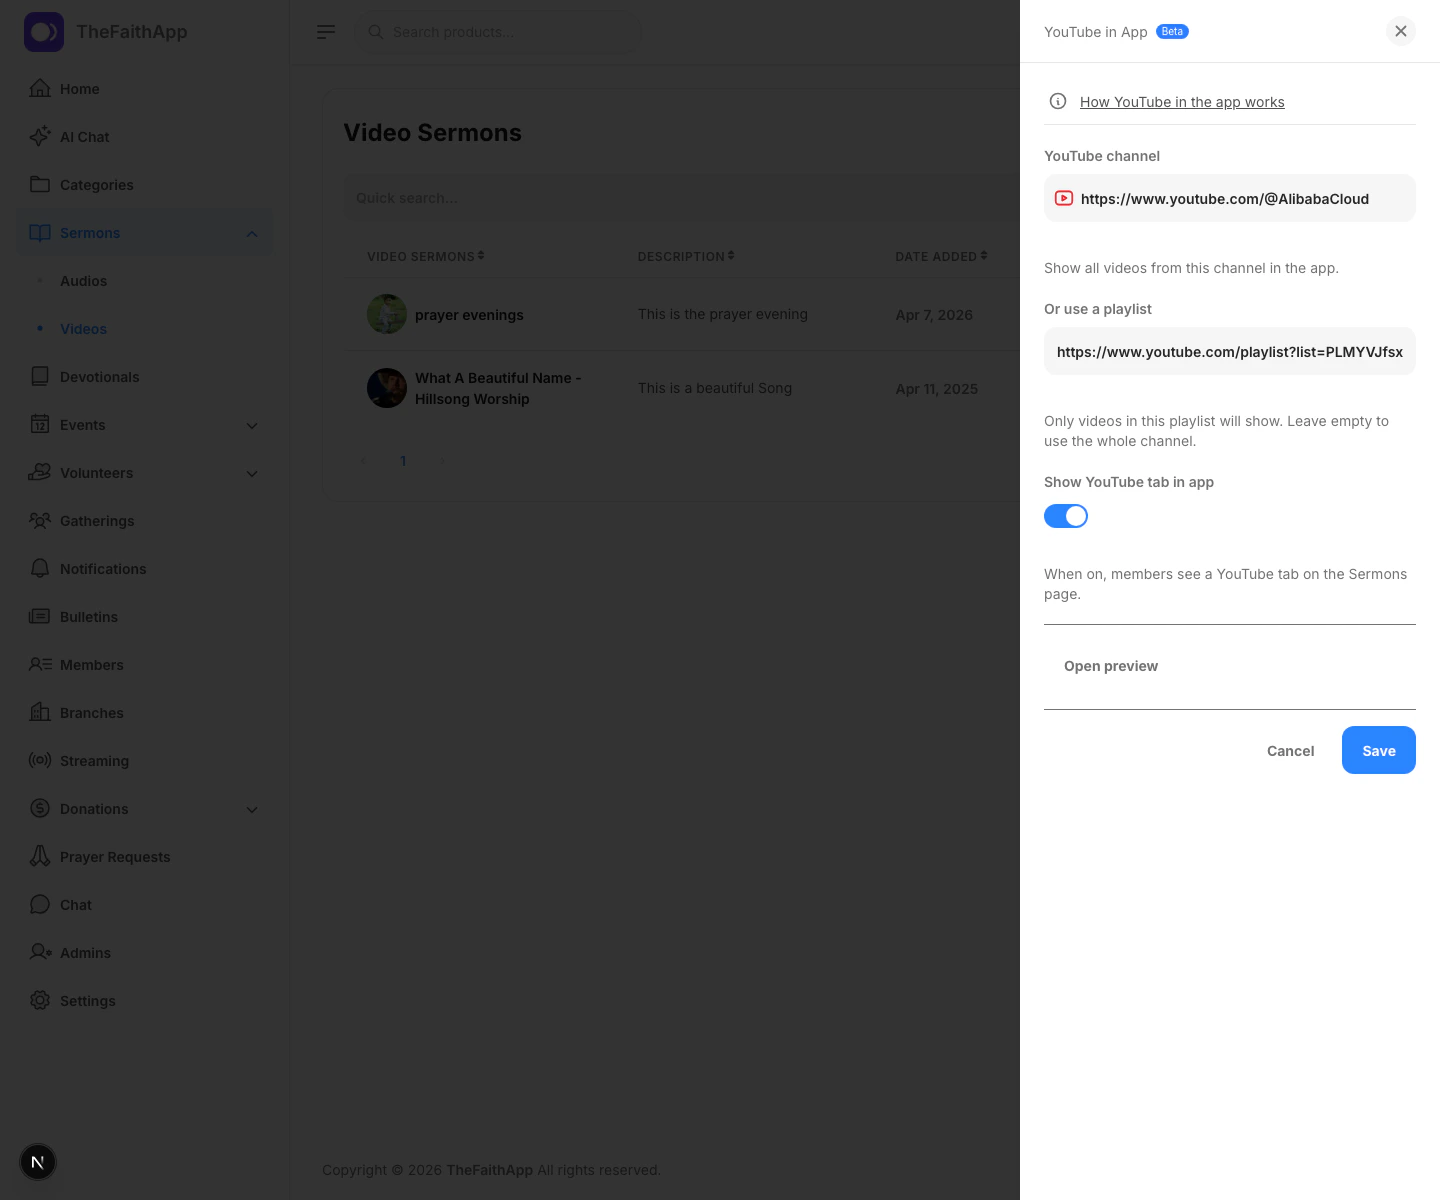
Steps
- Open
Sermonsand selectVideos. - Click
YouTube settings. - Add the YouTube channel URL if you want to show the whole channel.
- Add a playlist if you want to show only selected videos.
- Turn on
Show YouTube tab in app. - Use
Open previewif you want to check how it will appear. - Click
Save.
Result
- Members can see a YouTube tab in the sermons area of the app when this feature is enabled.
Devotionals
Use Devotionals to publish daily or recurring written reflections for members.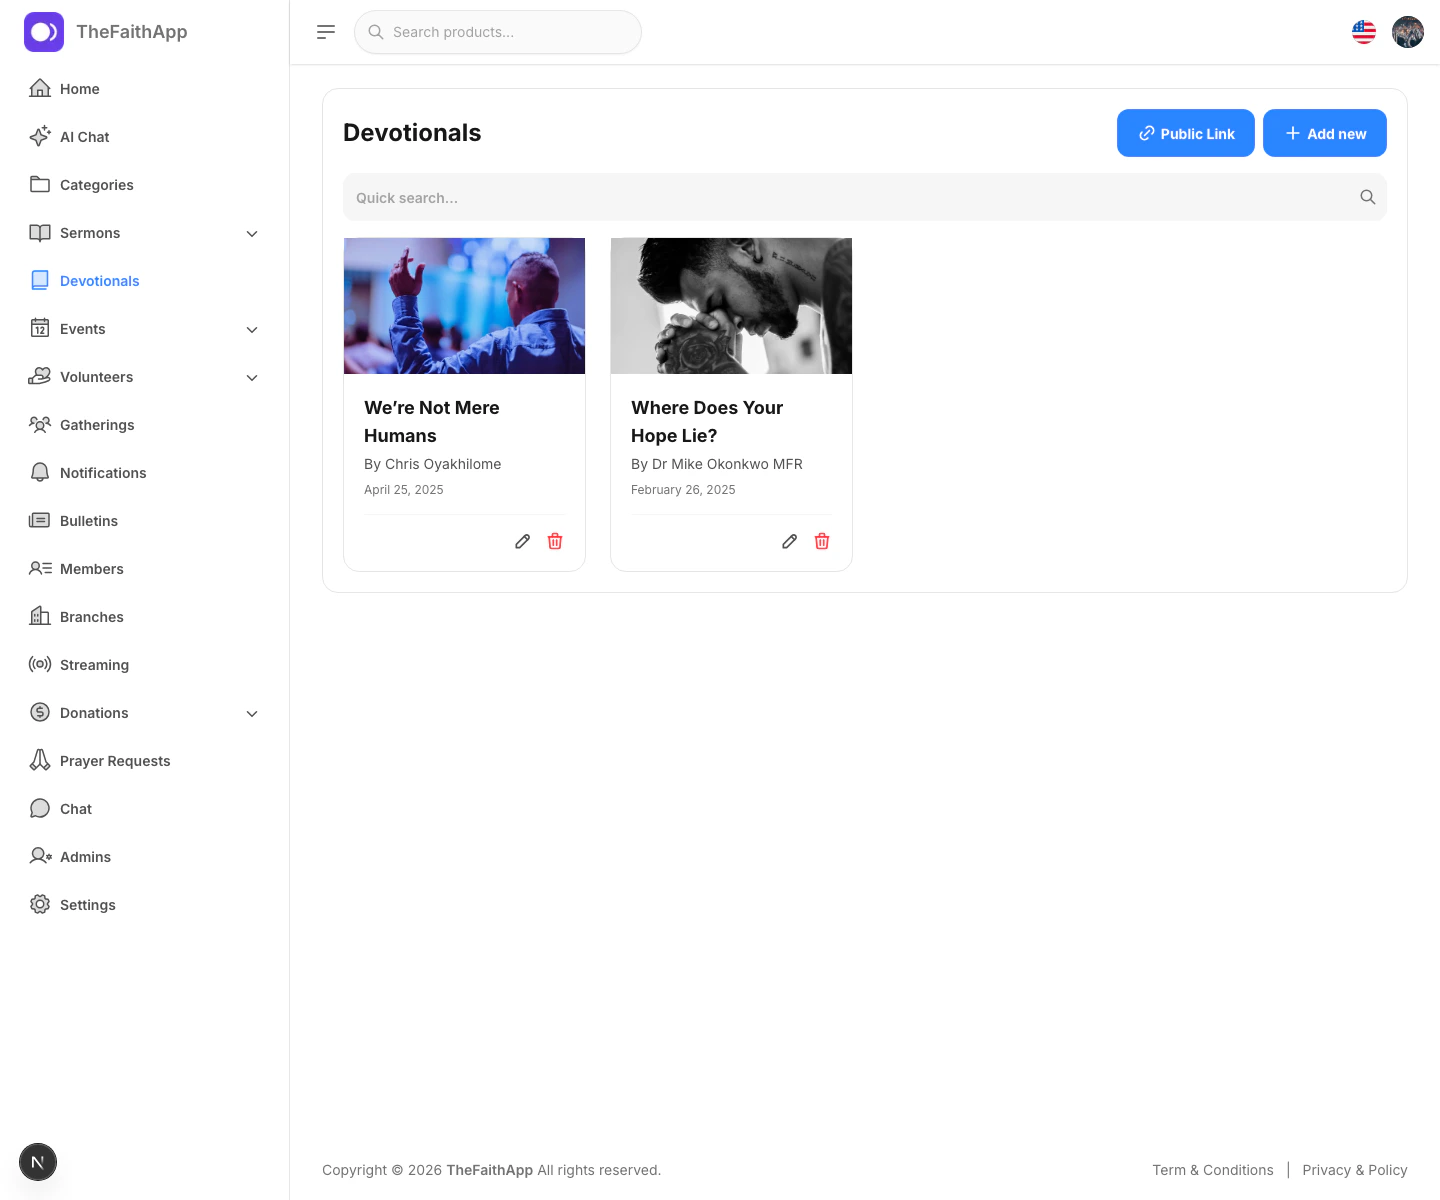
What You Can Do
- Create a new devotional
- Add the devotional date, author, title, and Bible reading
- Write the devotional content
- Add confession, studies, tags, and a thumbnail image
- Set recurring devotionals
- Choose whether to send notifications
- Generate a public devotional link
- Edit or delete devotionals later
Steps
- Open
Devotionals. - Click
Add new. - Fill in the devotional details.
- Upload the thumbnail image.
- Choose whether the devotional is recurring.
- Set the notification time if you want to notify members.
- Save the devotional.
Public Sharing
- Use
Public Linkon the main page when you want a shareable devotional page or embed code.
Public Devotional Page
Use the public devotional page when you want members or visitors to browse devotionals outside the admin dashboard.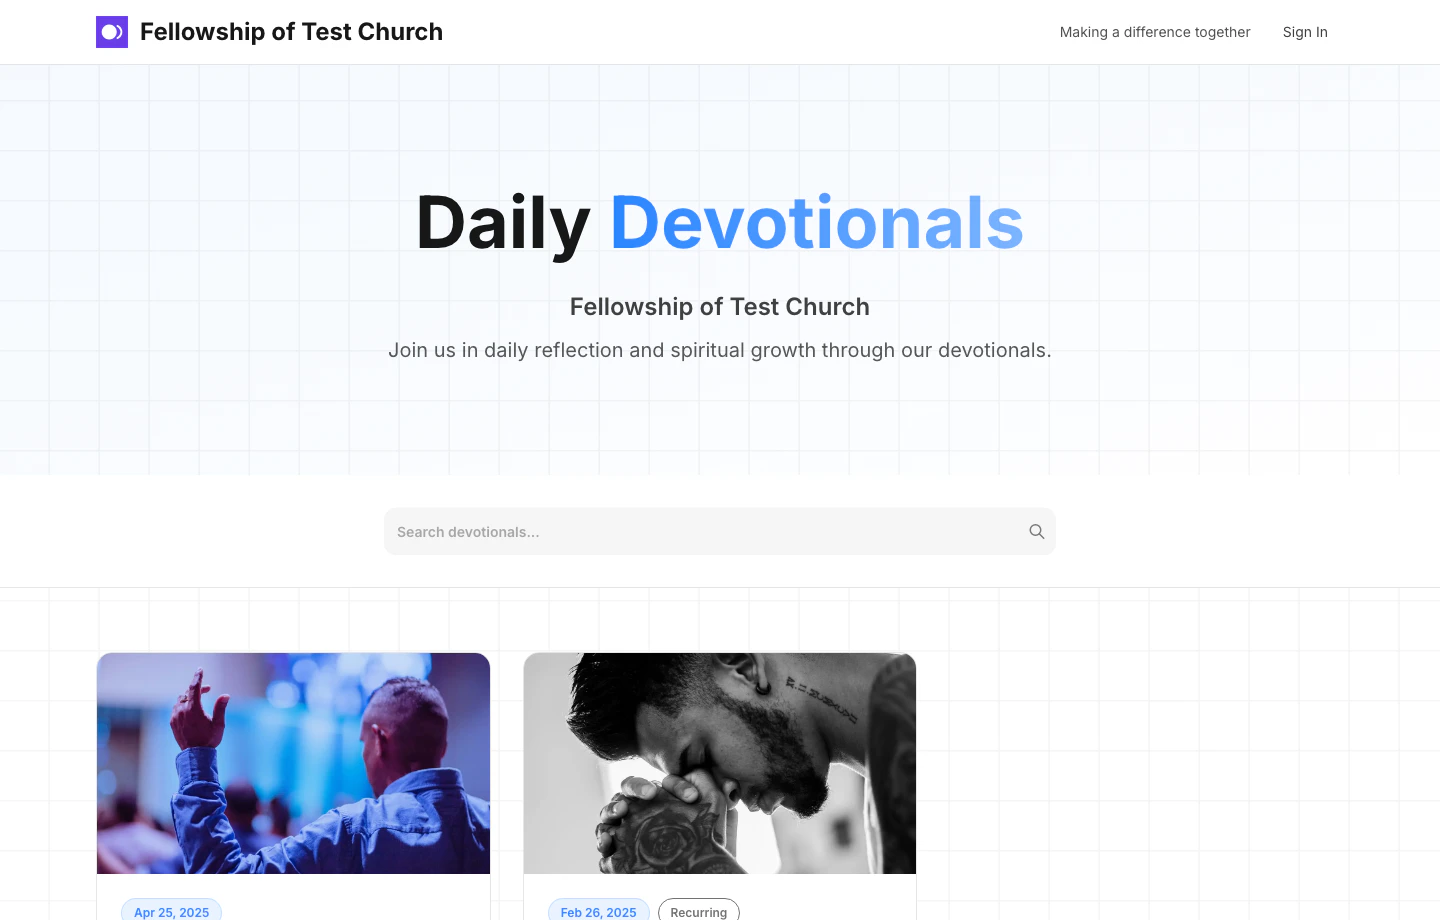
What Visitors Can Do
- Browse the published devotionals
- Search devotionals from the public page
- Open a devotional to read the full reflection
Steps
- Open
Devotionals. - Click
Public Link. - Open the public devotional link.
- Review the devotional list and use search if needed.
- Click a devotional card to open it.
Notes
- The public devotional page is designed for sharing outside the admin dashboard.
- Visitors can browse devotionals directly from the public page.
Public Devotional Detail Page
Use the devotional detail page when you want to share one specific devotional or let readers open the full message from the public list.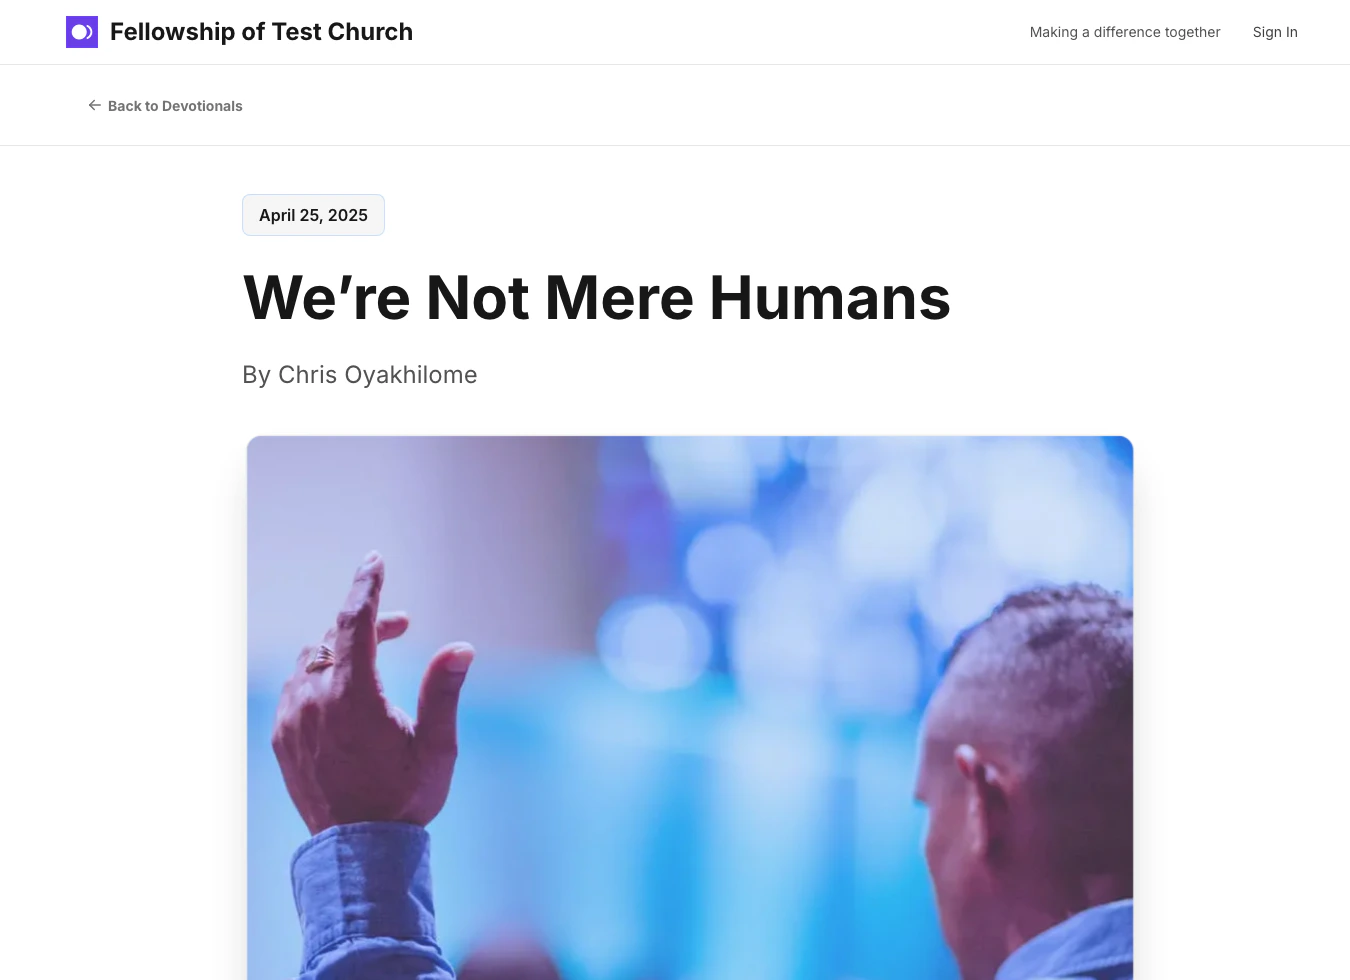
What Visitors Can Do
- Read the devotional title, date, and author
- Review the devotional image and written reflection
- Use the back link to return to the devotional list
Steps
- Open the public devotional page.
- Click the devotional you want to read.
- Review the devotional content on the detail page.
- Use
Back to Devotionalswhen you want to return to the list.
Notes
- Each devotional opens on its own public page, which makes it easier to share a single reflection.
- The public detail page reflects the content saved on the devotional record.
Digital Bulletins
Use Digital Bulletins to publish church bulletins as either rich content or PDFs.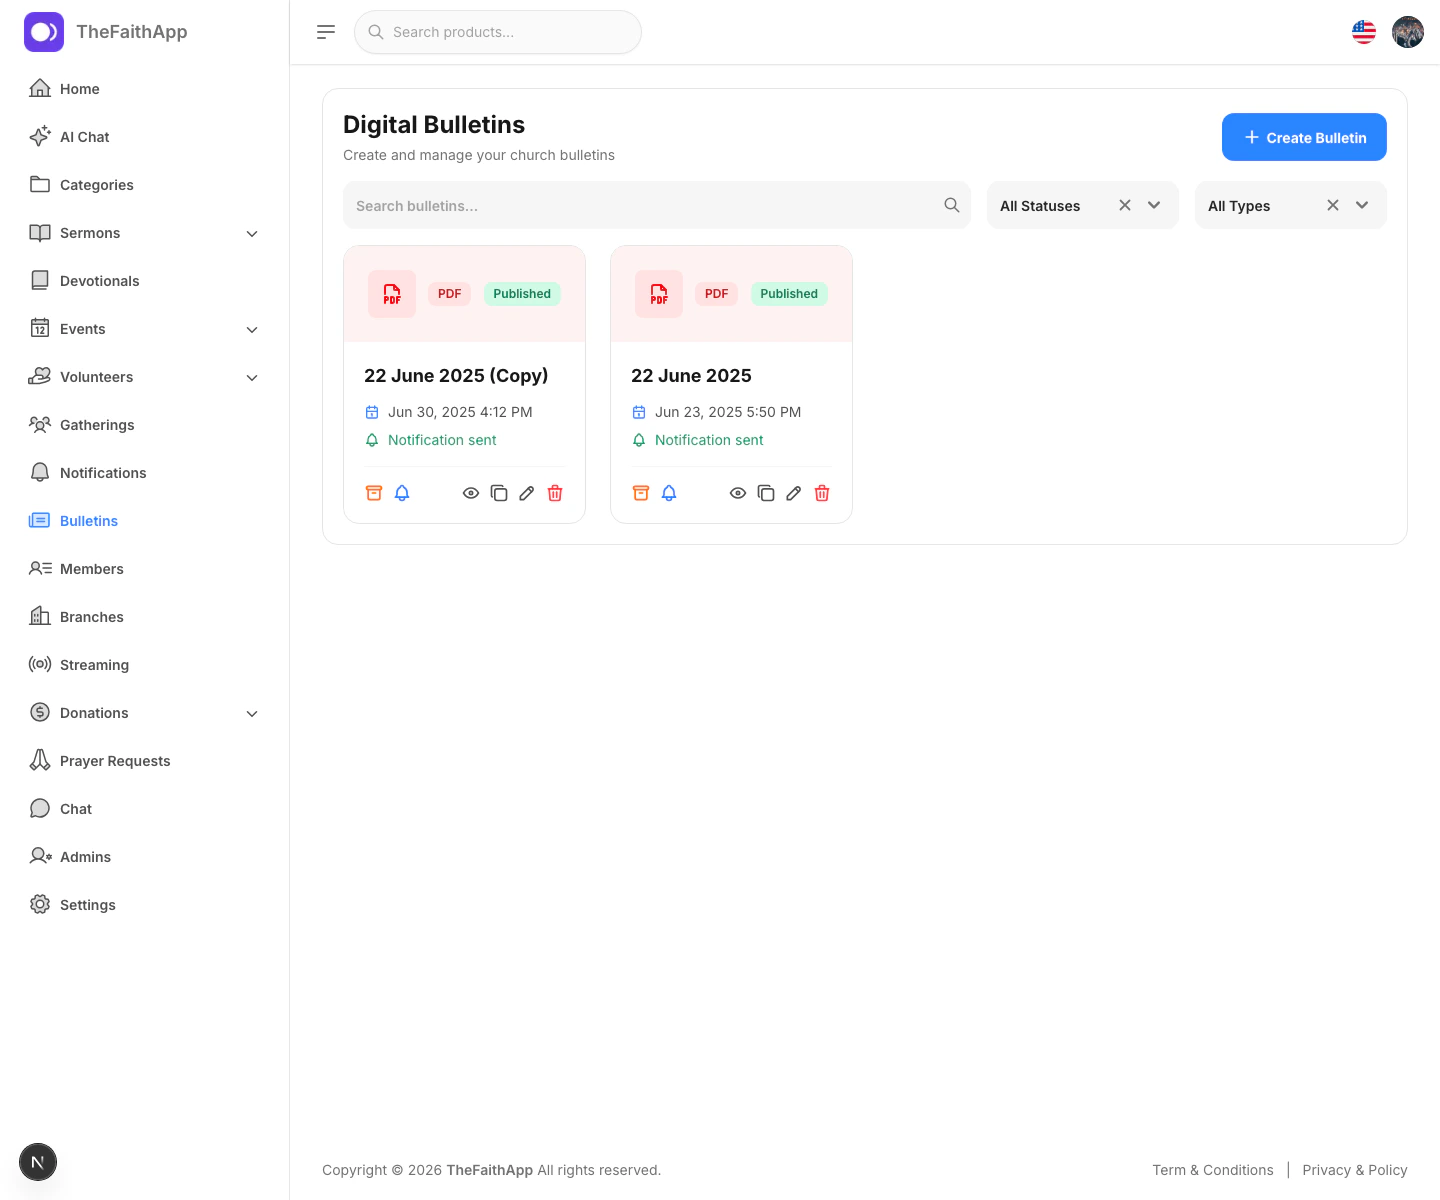
What You Can Do
- Create a bulletin from scratch
- Upload a PDF bulletin
- Search and filter bulletins by status and type
- View bulletin details
- Publish drafts
- Archive published bulletins
- Duplicate a past bulletin
- Resend bulletin notifications
- Edit or delete bulletins
Steps
- Open
Bulletins. - Click
Create Bulletin. - Choose whether the bulletin will be
NativeorPDF. - Enter the bulletin title.
- Add the content or upload the PDF.
- Save it as a draft or publish it.
Bulletin Types
Nativebulletins let you build content sections directly in the app.PDFbulletins let you upload a finished bulletin file.
Streaming
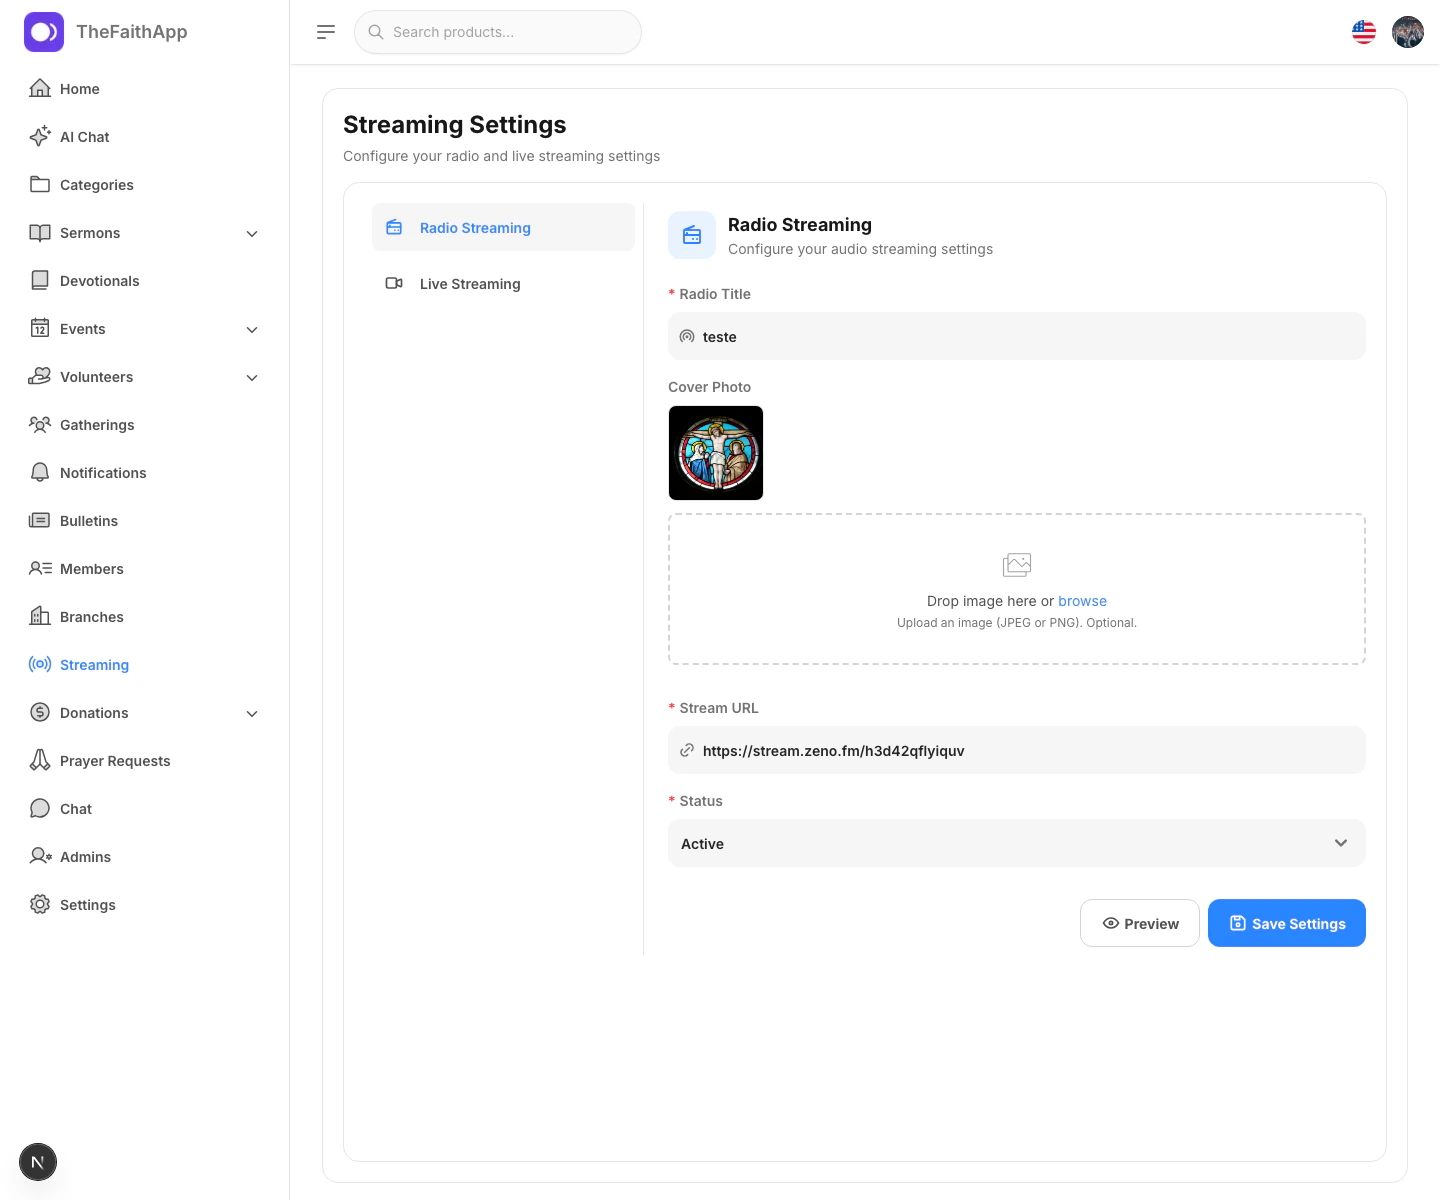
Use Streaming to manage both radio and live broadcast settings.Radio Streaming
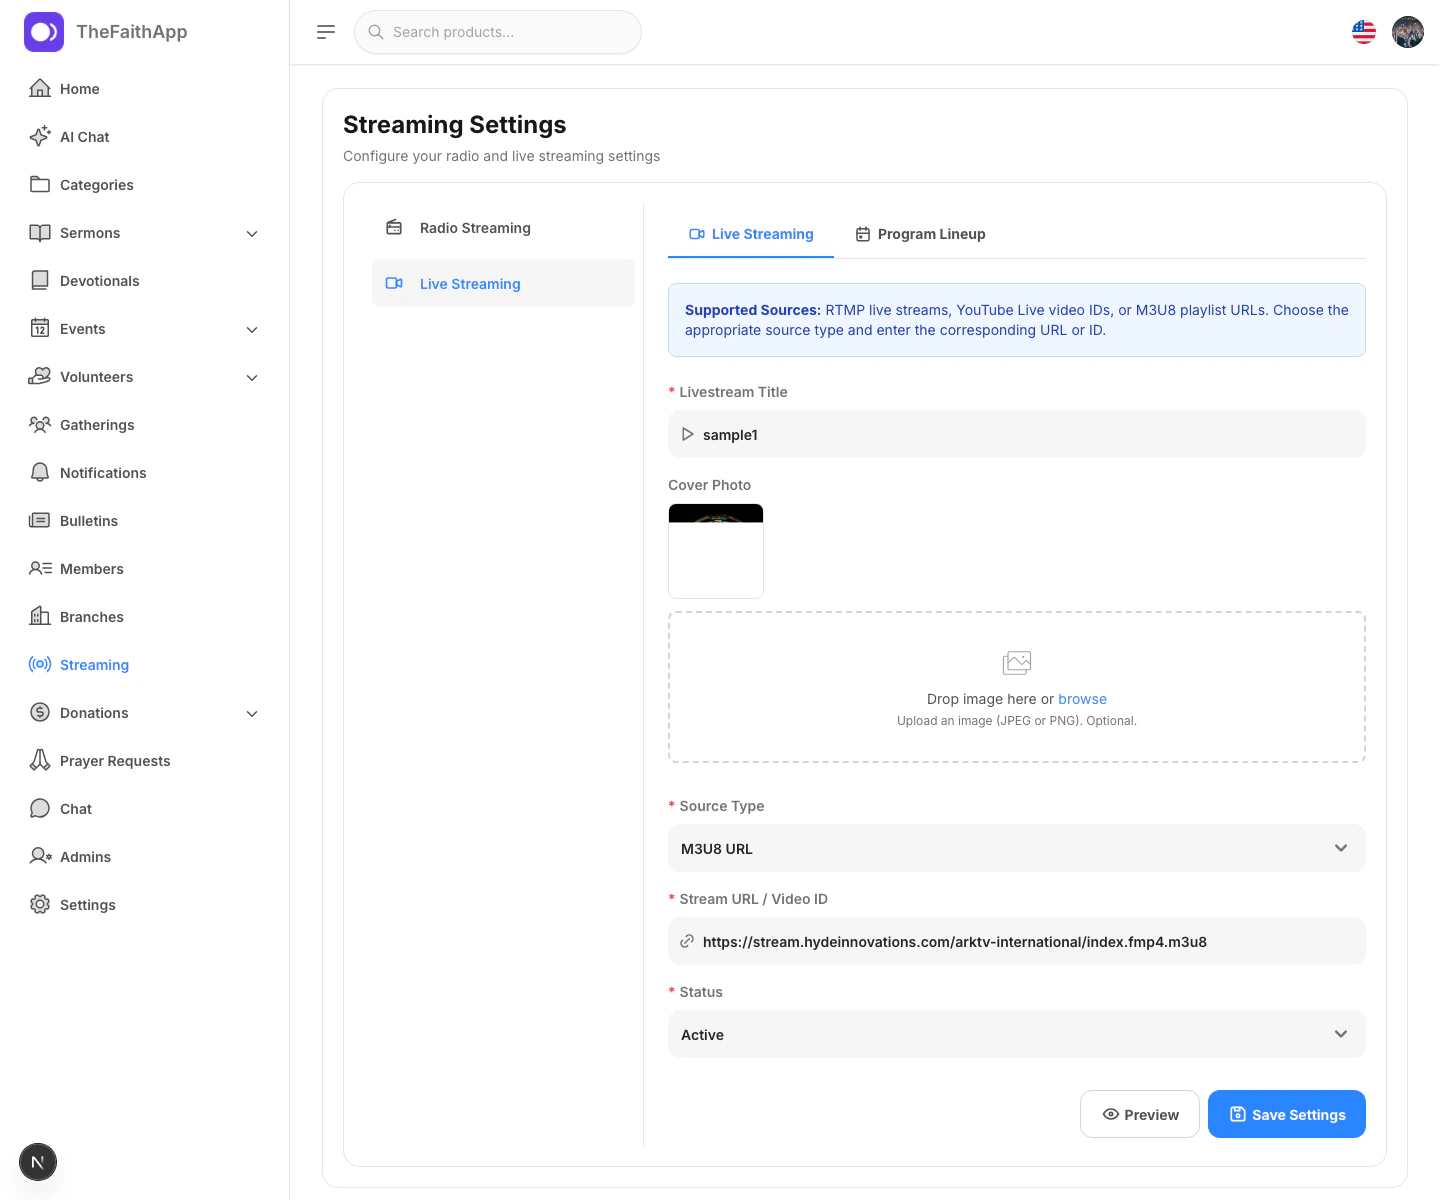
Live Streaming
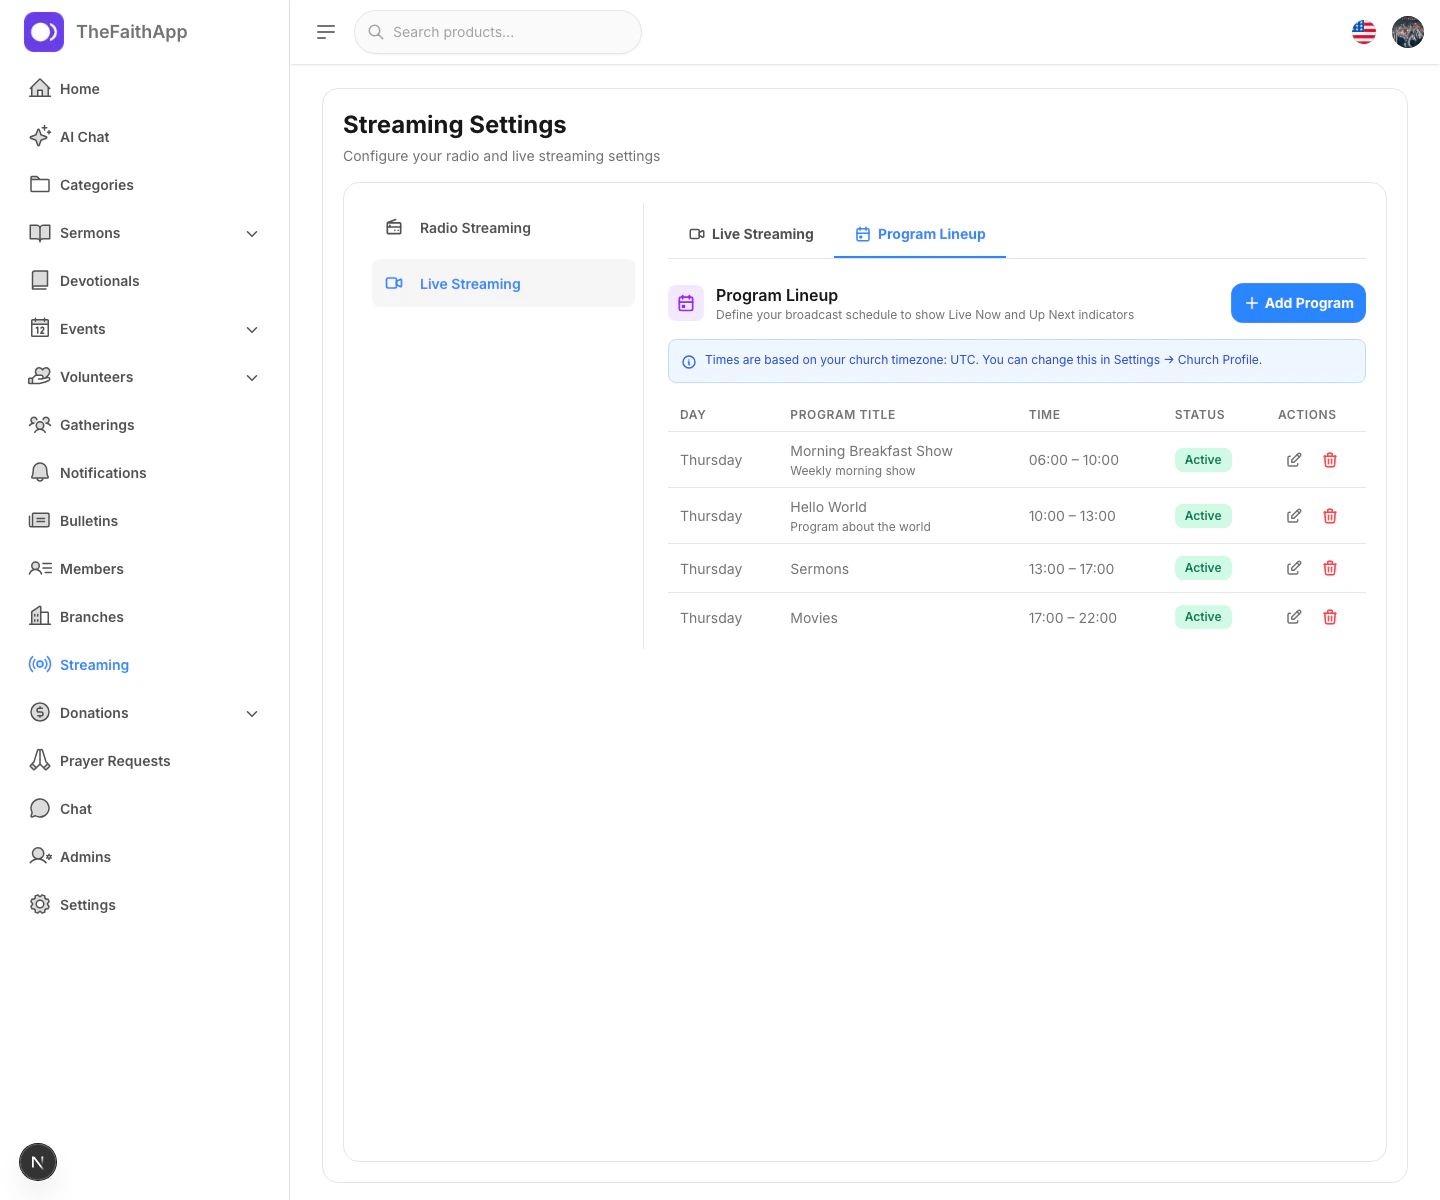
Program Lineup
What You Can Do
- Configure radio streaming details
- Add or replace the cover image
- Set the stream URL and status
- Configure live stream settings
- Choose the live source type
- Preview radio or live streams before saving
- Build a weekly program lineup with days and times
- Add an optional WebVTT caption file for a church-managed stream
- Connect the broadcast to an existing on-demand sermon after the service
- Automatically turn a finished YouTube Live recording into a sermon
- Accept signed recording-ready webhooks from other streaming providers
- Notify members once when the stream changes from inactive to active
Supported Live Sources
- RTMP live stream URLs
- YouTube Live video IDs
- M3U8 URLs
Basic Steps
- Open
Streaming. - Use
Radio Streamingto update the audio stream title, image, URL, and status. - Switch to
Live Streamingto configure the live broadcast source. - Open
Program Lineupto add scheduled shows and their broadcast times. - Preview the stream if needed.
- Save the settings.
- To archive a YouTube Live broadcast automatically, choose its sermon category under Automatic on-demand archive and click Enable YouTube archive.